

Introduction
Migrating a website is often viewed as risky downtime can disrupt user experience, damage SEO rankings, and cost valuable leads. Yet moving your site to Webflow can be one of the most rewarding upgrades you make. With its visual design flexibility, integrated CMS, lightning-fast performance, and no-code editing environment, Webflow empowers businesses to modernize their digital presence.
The challenge? Executing a migration without sacrificing uptime or SEO equity. A smooth transition requires a structured process, combining technical audits, meticulous planning, and phased implementation. In this guide, we’ll walk through every stage of the migration—before, during, and after launch—so your business reaps the benefits of Webflow without disruption.
Pre-Migration: Detailed Audit and Strategic Planning
The foundation of a seamless migration lies in preparation. Rushing into design or development without understanding the scope of your existing website almost guarantees missed pages, broken links, or SEO drops.
1.Comprehensive Website Audit
Perform a Content Inventory
Use tools like Screaming Frog, Sitebulb, or DeepCrawl to generate a complete map of your website. Capture every live page, hidden page, media file, and downloadable resource. Don’t forget orphan pages that aren’t linked anywhere but may still be indexed.
Export SEO Metadata
Extract existing metadata (titles, descriptions, headers, alt texts, schema markup, Open Graph tags). These assets directly influence search rankings and should be preserved or improved during migration.
Analyze Website Analytics
Review Google Analytics and Search Console to identify your highest-performing content. Note top traffic pages, high-converting landing pages, and indexed URLs. These should be migrated with utmost precision to avoid traffic loss.
Audit Third-Party Integrations
Catalog all embedded systems—forms, CRMs, live chat, analytics, ad pixels, and automation tools. Each integration must either be replicated in Webflow or replaced with equivalent solutions.
2. Define Clear Migration Objectives
Document your reasons for migrating. Examples:
Improve page load speeds for better Core Web Vitals.
Enhance mobile responsiveness and design flexibility.
Adopt Webflow CMS for dynamic content like blogs or portfolios.
Simplify team collaboration with no-code editing.
Clear objectives help prioritize resources and set measurable outcomes.
3.URL Mapping & SEO Preservation
Extract your current URL structure and create a mapping spreadsheet that pairs each old URL with its Webflow equivalent.
Build a 301 redirect plan to maintain SEO authority and protect backlinks.
Prepare an updated XML sitemap for submission to Google Search Console immediately post-launch.
Backup all current site data—HTML, databases, media, and configuration files—to mitigate risk.
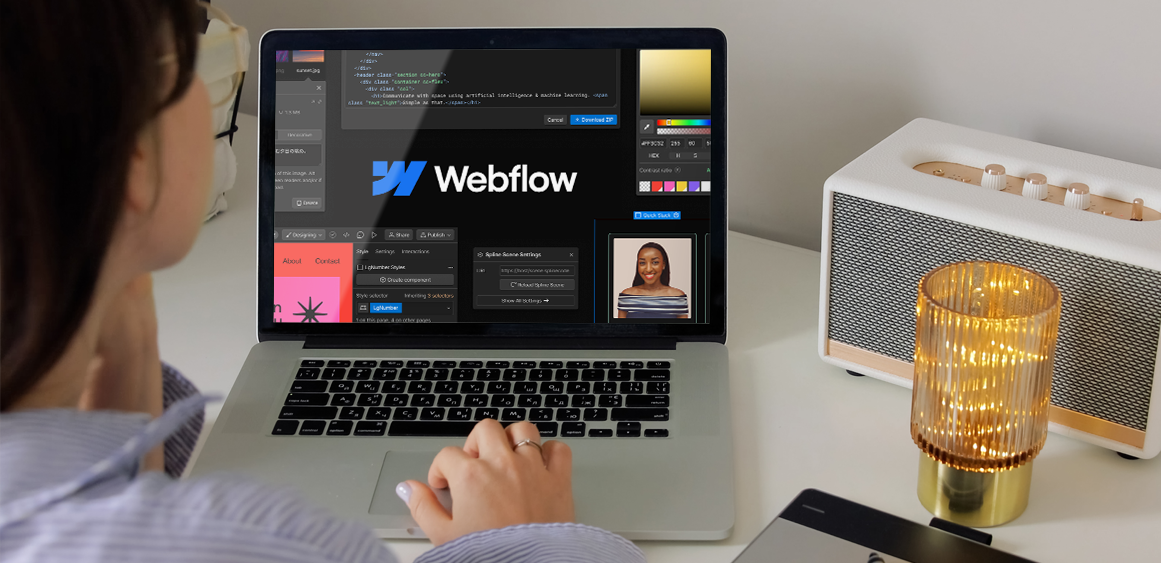
Migration Execution: Building and Configuring in Webflow
Once the groundwork is complete, you’re ready to rebuild your site in Webflow. This stage is about execution, precision, and alignment with brand guidelines.
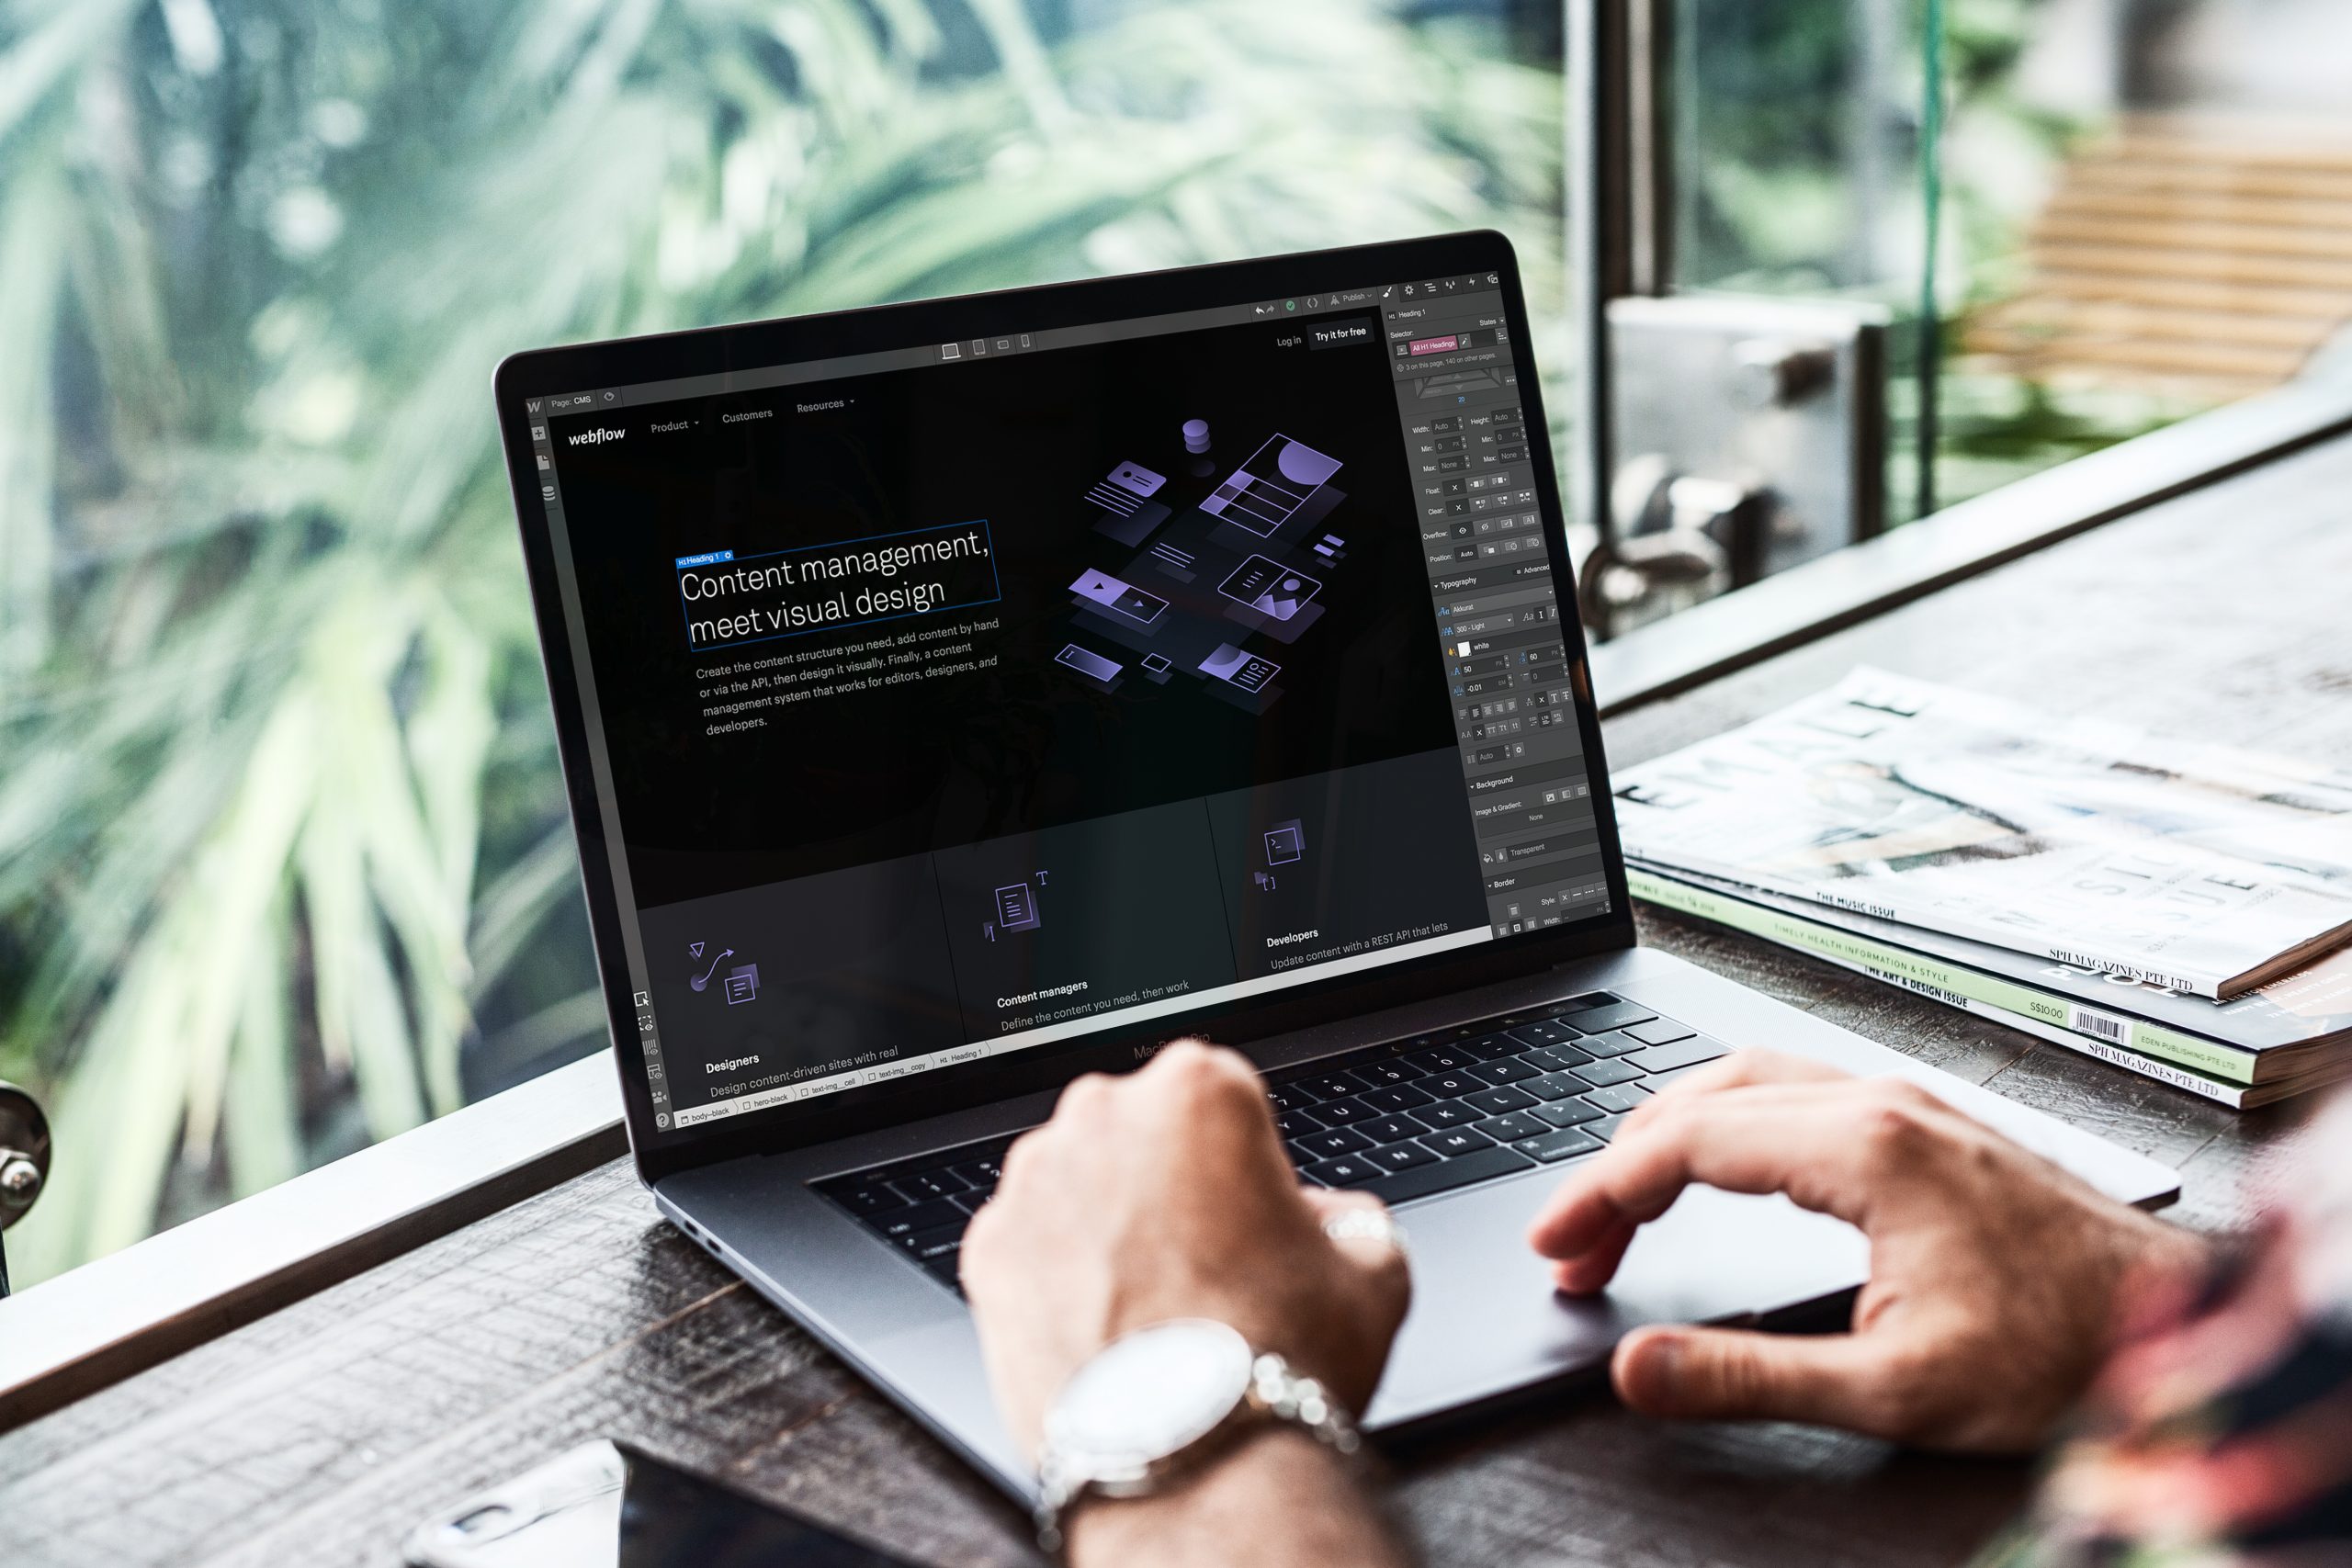
1. Webflow Project Setup & Design System
Start a fresh Webflow project, choosing between a template or a blank canvas.
Define a global design system: brand colors, typography, spacing, reusable components (headers, footers, CTAs).
Establish consistent class naming conventions to make long-term maintenance easier.
2.Content Migration & CMS Setup
Use CMS Collections to organize repeatable content such as blog posts, products, or events.
Bulk import data with CSV files for efficiency.
Optimize images for file size, dimensions, and format (WebP/optimized JPEGs) before uploading.
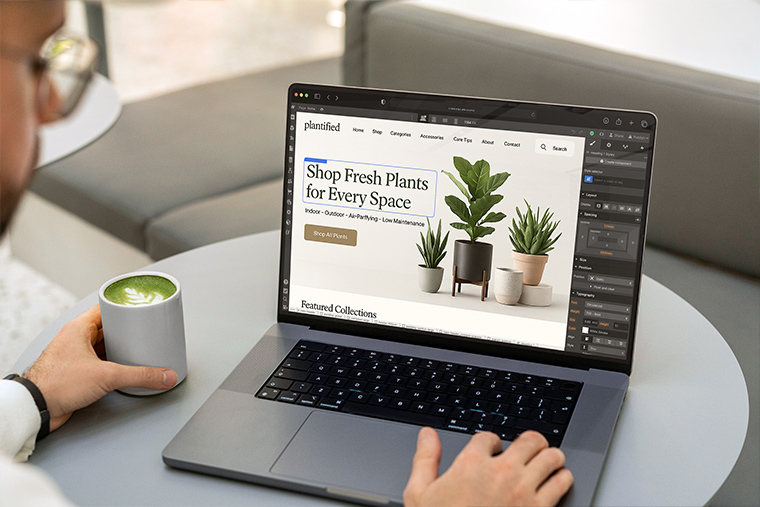
Rebuilding Pages & Features
Recreate each page with pixel-perfect accuracy, ensuring responsiveness on desktop, tablet, and mobile.
Leverage Webflow’s interactions and animations to replicate or enhance existing user experience.
Integrate forms properly so they connect with your CRM or email system.
Apply on-page SEO: optimized slugs, titles, meta descriptions, alt text, and schema.
3.SEO Configuration & Redirects
Configure 301 redirects in Webflow’s Project Settings.
Set up a robots.txt and new XML sitemap.
Review canonical tags and ensure clean URL structures for SEO consistency.
4.External Integrations
Re-establish Google Analytics, Tag Manager, and Facebook Pixel.
Set up marketing automation workflows.
Enable SSL certificates and enforce HTTPS.
Testing and Quality Assurance
Before your site goes live, test it thoroughly in staging to prevent costly post-launch issues.
1.Staging Environment Review
Use the Webflow staging domain (e.g., sitename.webflow.io) to test functionality.
Review responsive behavior across devices and browsers.
Benchmark performance with Google Lighthouse or GTmetrix.
2. SEO Validation
Run broken link checks.
Verify redirects with a tool like Redirect Path or Screaming Frog.
Cross-check metadata against your audit export.
3.Uptime Planning
Schedule migration during low traffic hours.
Notify stakeholders of the migration window.
Keep a rollback plan and backups ready.
Launch: Domain Pointing & Going Live
The final step before users see your new Webflow site is updating DNS settings.
Point your domain’s DNS to Webflow hosting.
Monitor DNS propagation (typically complete within a few hours).
Confirm SSL is active and HTTPS is enforced.
Test global availability with tools like WhatsMyDNS.net.
Post-Migration: Monitoring and Optimization
Even after launch, monitoring is essential to maintain performance and SEO.
1.Track Search Console & Analytics
Monitor crawl stats, indexing, and errors.
Track traffic dips and ranking changes—temporary fluctuations are normal, but steep drops need investigation.
2. Address Feedback
Collect feedback from users and internal teams.
Resolve UI/UX issues quickly.
3. Train Teams
Provide editors with training on Webflow’s Editor interface.
Share internal documentation for workflows.
4.Continuous Audits
Run quarterly SEO audits to maintain site health.
Optimize images, update plugins/integrations, and track Core Web Vitals regularly.
Bonus Tips for Zero Downtime
Use a CDN like Cloudflare to boost speed and DNS security.
Keep a small maintenance mode banner on your old site (if backend changes are required) but avoid prolonged downtime.
Communicate proactively with users—announce migration in newsletters or banners.
Keep your agency or developer available during the launch window for real-time troubleshooting.
Conclusion
Migrating your website to Webflow without downtime isn’t just possible—it can be a growth opportunity. By carefully auditing your existing site, creating a detailed URL and SEO preservation plan, rebuilding with precision in Webflow, and monitoring closely after launch, you’ll safeguard performance, rankings, and user experience.
Handled correctly, your migration won’t just be seamless—it will leave you with a faster, more flexible, and future-proof website ready to scale.
At Fineart Design Agency, we specialize in helping businesses achieve exactly that—smooth, zero-downtime migrations combined with stunning Webflow designs that elevate brand presence. With our expertise, you won’t just move your website—you’ll upgrade it for long-term growth and success.
